Email: scott.adamson@nemoves.com

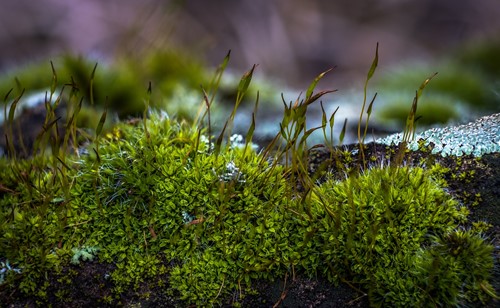
If you want to add some no-maintenance greenery to your home decor, a moss wall garden might be the perfect choice. Unlike garden walls made up of many small plants, moss walls not always alive. This makes them much easier to maintain while still giving you a lush and beautiful art piece to bring nature indoors. Here is all the basic info you’ll need to create your very own moss wall garden.
Preserved moss is a very popular option for creating moss wall gardens as it requires virtually zero maintenance and is easier to work with. Living moss is an excellent choice for outdoor art pieces, as the constant moisture won’t damage your walls. For an indoor wall moss garden, preserved moss will be the simplest to DIY and the most budget-friendly.
There are three common types of preserved moss you can purchase: mood moss, sheet moss and reindeer moss. You can also add dried or nonliving accessories for more texture and visual interest. Some of these things might include driftwood pieces, pinecones, dried seed pods or even sponge mushrooms.
If you’re working with living moss, you have dozens of species to choose from. You can also add other living plants for an extra lush wall.
Once you have decided on the type of moss you want to use, you’ll need to create a frame to mount it on. You can use any type of picture frame for this purpose or go completely DIY and build one yourself. The frame choice depends on your preference and style. Sleek metal frames will keep the piece looking chic and contemporary while vintage frames with embellishments and heavy patina create a more boho look.
To prepare the frame, simply attach a piece of plywood to the back with a staple gun or wood glue. If you opt for a living moss wall, use a soil-less garden wall kit which will have special mesh to attach the plants. Attach brackets to the backside of the plywood base for hanging if you want to mount it on the wall—this is easier to do before you add the moss.
Building the moss wall garden is where you can get creative and have some fun in your design. Arrange the moss and accessories on the frame before attaching them so you can get a sense of the finished design. You can go for a lush and natural look or create a piece of bold modern art with geometric shapes, stripes and other motif. Attach the preserved moss and dry pieces to the base with hot glue. For a living moss wall, attach the sheet moss pockets from the soil-less garden kit and add your choices of plants. Hang where desired, and you’re done.
Regardless of whether it’s living or preserved, your moss wall garden will add a perfect touch of greenery to any space.

Welcome to my real estate website, your number one source for Sudbury MA Real Estate, Natick MA Real Estate, Southborough MA Real Estate, Stow MA Real Estate, and surrounding towns. Feel free to contact me today at 978-314-9009.
Exceptional Real Estate Service